
Custom Abutment Design

Abutments designed to the final restoration — emergence profile, margin position, and screw access engineered to the implant system a dentist actually placed, not adapted from a stock part.

A stock abutment asks the crown and the tissue to accommodate a shape that was never meant for the site. Custom abutment design reverses that: the emergence profile, the margin, and the screw access are designed to the restoration and the soft tissue in front of them, so the crown emerges the way it was drawn.

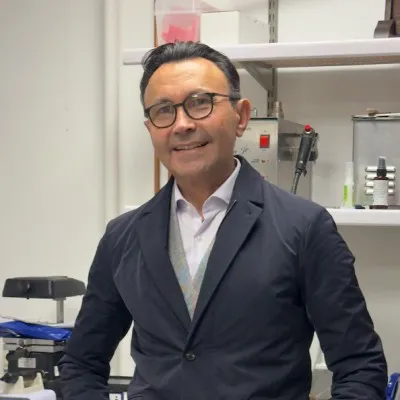
Jahn De Khudikine, Founder · Universal Dental Lab
Jahn De Khudikine Founder · Universal Dental Lab

Why send it here

The abutment is where tissue and restoration meet. We design it to both — with you.

A practice's schedule lives or dies by the lab — I've watched one late case push back a whole day of chair time.

So I still know the cases moving through this lab, and I answer for how each one is made. Send a case here and it doesn't drop into a queue — it lands with me and one technician who carries it start to finish.

Start a case
You approve first
Nothing is milled until you sign off the design Changes at that stage cost only a conversation
Emergence you design
Contoured to the final crown, not a stock part The crown emerges the way it was drawn
Your technician
One planner holds your case Reach them directly — no call-center queue
Free scanner
3Shape TRIOS 6 for partners Go fully digital at no cost
Universal Dental Lab Abutment case sheet

What to send with the case

  • Scan body capture or implant-level impression
  • Intraoral scan or model, both arches
  • Bite registration
  • Shade photos
  • Implant system and platform (exact)
  • Cement- or screw-retained plan

An ambiguous implant detail is the one input we will always stop and verify — the connection is machined to a specific system.

How We Work With You

The Abutment Is Where Tissue and Restoration Meet

We design each abutment in CAD from an implant-level record, on a titanium base or as a full custom abutment depending on the case. Margin position, emergence angle, and retention are settled against the final crown — because an abutment designed in isolation is how you end up with subgingival margins you cannot reach and screw access through a cusp tip.

Emergence and tissue support
The emergence profile is contoured to shape the tissue toward the final restoration, so the gingival architecture supports the crown rather than fighting it — the part a stock component cannot get right in the esthetic zone.
Margin, retention, and access
Cement- or screw-retained changes where the margin belongs and how the access channel is routed. We place the finish line where you can maintain it and design angulation to keep screw access off the incisal edge.
The connection
A custom abutment is machined to a specific implant connection. The system and platform are confirmed exactly, and the interface fit is not something we approximate.
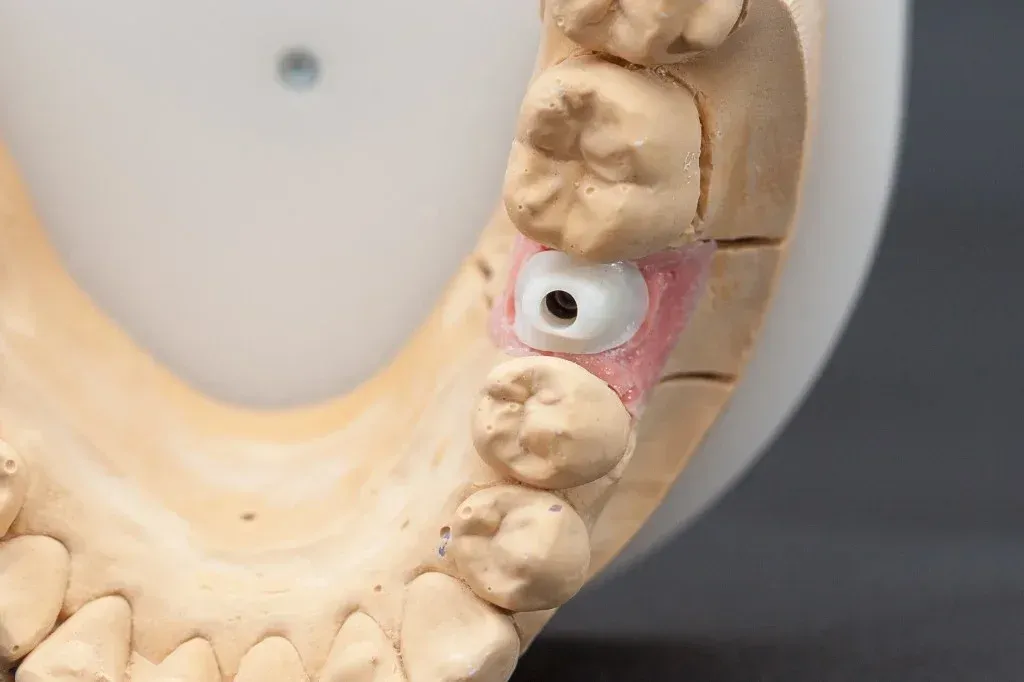
CAD screen showing a custom abutment emergence profile against the soft-tissue model

Emergence & Tissue

Emergence You Design, Not Inherit

The emergence profile is the part a stock component cannot get right in the esthetic zone. We contour it to shape the tissue toward the final restoration, so the gingival architecture supports the crown rather than fighting it — the restoration comes out of the tissue the way it should.

  • Custom emergence profile: Shapes the soft tissue to the final crown instead of forcing a stock contour.

  • Margin where you can reach it: The finish line is placed for the restorative plan and kept accessible for cement cleanup or a clean screw channel — not left subgingival where excess cement hides.
Learn more
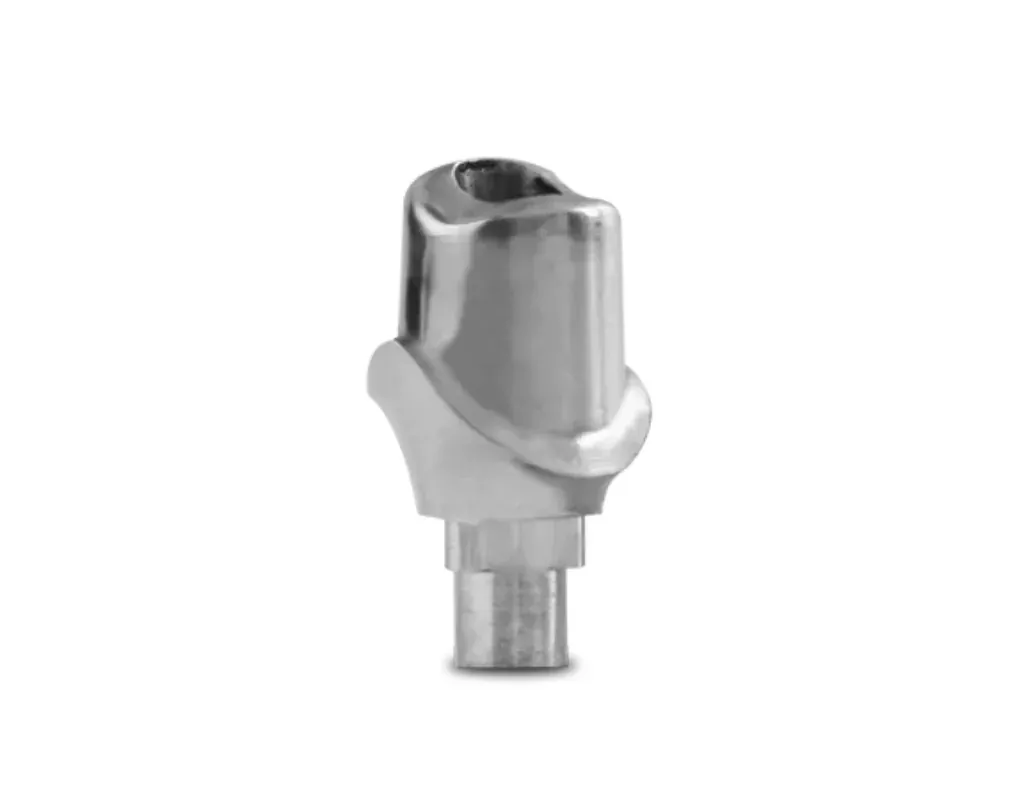
Finished custom abutment on a titanium base seated on an implant analog

Materials & Fabrication

Titanium Base or Full Custom, Machined to the Interface

Depending on the case we design the restoration on a titanium base or produce a full custom abutment. The implant interface is machined to the confirmed system, and the finished abutment is checked on the analog for fit and anti-rotation before it ships.

Because we design the abutment and its crown together, the emergence, margin, and retention agree by design — the two are drawn as one restoration rather than ordered as separate parts that have to be reconciled at the chair.

  • Screw access on your terms: Angulation routes screw access away from the incisal edge or cusp tip, so an angled site can still be restored screw-retained.

  • Checked on the analog: Fit and anti-rotation at the implant interface are verified before the abutment ships.

Learn more

Where the connection is non-negotiable

A custom abutment is machined to a specific implant connection. The system and platform have to be confirmed exactly, because the fit at the implant interface is not something we can approximate — an ambiguous implant detail is the one input we will always stop and verify. If the emergence problem can still be prevented on screen, plan it first — see guided implant planning and implant case planning.

The Process

How a Custom Abutment Is Designed

From the implant-level record to a seated abutment. Nothing is milled until you approve the design.

  1. Send the implant-level record

    Practice

    A scan body capture or an implant-level impression, an intraoral scan or model of both arches, a bite, shade photos, and the exact implant system and platform. The abutment is machined to a specific connection, so the system detail is not optional.

  2. We confirm the connection and space

    Lab

    We verify the implant system, the platform, and the available restorative and interocclusal space before design. If clearance is tight or the emergence angle is going to fight the tissue, you hear it up front.

  3. Design to the emergence and margin

    Lab

    We design the abutment in CAD to support the final crown: an emergence profile that shapes the tissue, a margin set for your cement or screw-retained plan, and angulation that puts screw access where you want it.

  4. You approve the design

    Practice

    You review margin position, emergence, and retention approach before anything is milled. Changes at the design stage cost nothing but a conversation.

  5. Mill, finish, and ship

    Lab

    The abutment is produced on a titanium base or as a full custom abutment, checked on the analog for fit and rotation, and shipped ready to seat with the restoration it was designed for.

What a custom abutment gives you

  • Emergence you design, not inherit

    A custom emergence profile shapes the soft tissue to the final crown instead of forcing a stock contour, so the restoration comes out of the tissue the way it should.

  • Margin where you can reach it

    The finish line is placed for the restorative plan and kept accessible for cement cleanup or a clean screw channel — not left subgingival where excess cement hides.

  • Screw access on your terms

    Angulation is designed to route screw access away from the incisal edge or cusp tip, so an angled site can still be restored screw-retained where the alternative would force cement.

Start a case

Send one case. Keep the scanner.

Open a partner account and your first case moves with a shade record and our remake guarantee — if a unit does not seat, we redo it at no charge.

  • Free 3Shape TRIOS 6 scanner for active partners
  • Under-2% remake rate — remakes at no charge
  • One named technician you reach directly — no call center

Prefer to talk? +1 747-268-0808

No call center — you hear back from the lab, not a bot.

Custom Abutment FAQ

Custom Abutment Design — Questions Dentists Ask

When emergence, margin depth, or screw-access angle cannot be solved with stock components — thin tissue, facially placed implants, or a cement-retained crown that still needs a manageable subgingival margin. The design service engineers the abutment to the final restoration, not a generic contour you compensate for in the crown.

This page is CAD for the abutment — platform, emergence, margin, and retention aligned to your scan capture. Fabrication of the abutment and crown lives under the implant restorative product line. Send records here when you need the design resolved; order manufacture when the STL and components are approved.

Custom abutments

Screw-retained pushes access and channel angle to the occlusal or lingual target you can reach; cement-retained focuses on margin depth, tissue support, and anti-rotational features the crown needs. Tell us the retention plan on the RX — switching later usually means redesign, not a small tweak.

How to send a file

Wrong system library, a capture without adjacent teeth or tissue context, or a scan that missed the emergence zone. The connection is machined to a specific platform — ambiguous implant details stop the case until confirmed. A clean implant-level scan with scan body seated and tissue relaxed is the baseline.

Planning first when you still control position and angulation — that is when screw access and emergence are cheapest to fix. On already placed fixtures we design to the position you have and optimize within it. Restoratively driven planning upstream prevents the abutment compromises that show up at delivery.

Implant case planning

Partner Offer

A Free Intraoral Scanner for Partner Practices

Partner with Universal Dental Lab and we place a 3Shape TRIOS 6 Wireless in your operatory — free for the length of our partnership. Scan the prep, send it in seconds, and skip impressions entirely.